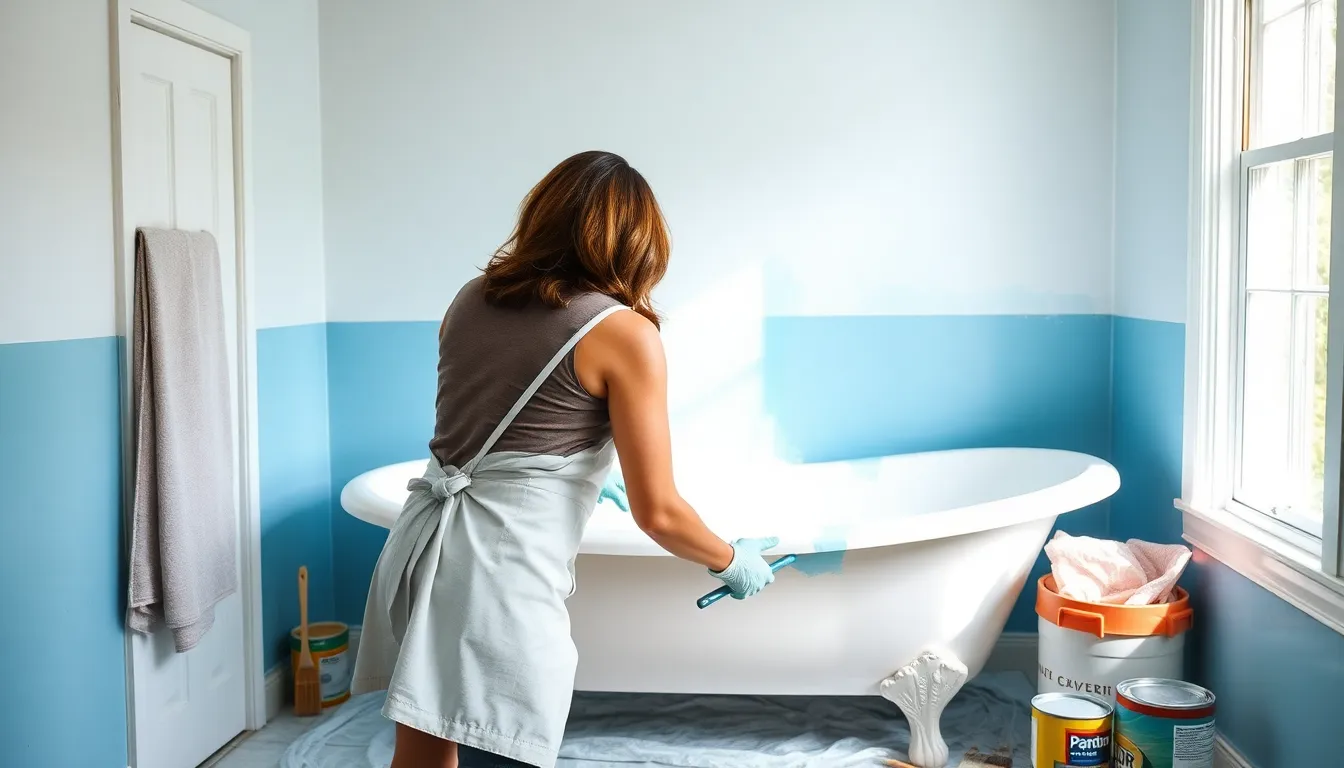
Imagine stepping into a bathroom that feels fresh and vibrant, where your old, drab bathtub transforms into a stunning centerpiece. Painting your bathtub isn’t just a DIY project; it’s a chance to unleash your inner artist and give your bathroom a facelift without breaking the bank. Who knew a little paint could turn your tub from sad to fab?
Table of Contents
ToggleOverview of Bathtub Painting
Painting a bathtub creates a fresh appearance and adds personality. This DIY project involves using specific coatings designed for bathroom conditions, ensuring durability and resistance to moisture. Many homeowners choose this budget-friendly option to transform their spaces without the cost of replacement.
Different types of paint work well for bathtub applications. Epoxy-based and acrylic paints typically provide a smooth finish. Primers specifically formulated for bathtub surfaces enhance the paint’s adhesion, reducing the risk of peeling or chipping over time.
Preparation is crucial before starting the painting process. Cleaning the bathtub thoroughly eliminates soap scum, oils, and dirt. Sanding the surface creates a rough texture, promoting better paint adherence. Taping off areas around the tub protects surrounding surfaces from accidental paint splatters.
The painting process includes applying multiple thin layers for an even finish. Each coat requires adequate drying time to ensure long-lasting results. A well-ventilated area during application fosters better curing conditions.
Maintenance following the painting process matters. Avoid harsh chemicals and abrasive cleaners to preserve the integrity of the finish. Regular gentle cleaning helps maintain the bathtub’s appearance.
Many homeowners report significant satisfaction with their painted bathtubs. A simple color change may uplift the entire atmosphere of a bathroom. Successful projects reflect creativity in personalizing home spaces, reinforcing the notion that updating a bathtub can be both practical and aesthetically pleasing.
Benefits of Painting Your Bathtub
Painting a bathtub provides various advantages, enhancing both aesthetics and practicality. This DIY project significantly transforms an older bathtub into a modern centerpiece.
Cost-Effectiveness
Painting a bathtub serves as a budget-friendly alternative to replacement. The typical cost of replacing a bathtub ranges from $1,000 to $3,000, while a painting project generally costs between $200 and $500. As a result, homeowners save substantial amounts of money by choosing to paint. Minimal tools and supplies reduce the overall expense. It further eliminates the need for extensive renovations, making this approach a smart financial choice.
Customization Options
Customization possibilities abound when painting a bathtub. Homeowners can choose from a broad spectrum of colors and finishes to match their bathroom decor. Different textures can also be applied, allowing for unique looks. Some may prefer a glossy finish, while others opt for a matte appearance. This flexibility enables individuals to express personal style creatively. Using stencils lets them add designs or patterns, enhancing the overall aesthetic. Ultimately, customizing a bathtub through paint personalizes the bathroom space, making it feel more inviting and tailored.
Steps to Prepare for Bathtub Painting
Preparing the bathtub for painting ensures a smooth application process and lasting results. Several essential steps create a solid foundation for successful transformation.
Cleaning the Bathtub
Thoroughly cleaning the bathtub removes soap scum, dirt, and oils. Scrubbing with a non-abrasive cleaner helps achieve a pristine surface. Use a mixture of vinegar and baking soda for tough stains, ensuring a residue-free finish. Rinsing the area well eliminates all cleaning agents, creating a clean slate for paint. Allow the surface to dry completely before proceeding, as moisture can hinder paint adhesion.
Repairing Damages
Addressing any damages is vital before painting begins. Inspect the bathtub for chips, cracks, or other imperfections. Fill small chips with an epoxy filler using a putty knife to achieve a smooth surface. For cracks, use a suitable repair kit that includes a bonding agent designed for bathtubs. Sand the repaired areas lightly after curing, ensuring a uniform texture throughout. Properly prepared surfaces yield optimal painting results, enhancing the overall appearance of the bathtub.
Choosing the Right Paint
Selecting the right paint is crucial for successful bathtub transformation. The choice impacts durability, aesthetics, and overall project satisfaction.
Types of Paint for Bathtubs
Epoxy-based paint is popular due to its robust adhesion and long-lasting finish. Acrylic paint also offers flexibility and ease of application. Both options withstand moisture and everyday use, ensuring the painted surface remains intact. Specialized bathtub coatings exist, specifically formulated for high-traffic areas, providing additional protection against wear and tear. When selecting paint, consider factors like color choice, finish options, and drying times specific to each type.
Recommended Brands
In the market, Rust-Oleum and Bathworks stand out as reliable options for bathtub paint. Rust-Oleum’s Tub & Tile Refinishing Kit is noted for its quality and effectiveness. Bathworks Premium Bathtub Paint offers a durable solution with a smooth finish and easy application. Additionally, Klein Tools and Giani provide options praised for their gloss and transformation potential. Always check user reviews and follow the manufacturer’s guidelines for optimal results. Choosing the right brand significantly influences the longevity and appearance of the painted bathtub.
Application Process for Bathtub Painting
The application process for painting a bathtub involves several key steps that ensure a successful outcome.
Techniques for Painting
Multiple techniques enhance the painting process. Apply paint using a high-density foam roller for a smooth, even finish. Use a paintbrush for edges and corners to avoid drips. Begin with the primer, ensuring thorough coverage for optimal adhesion. Apply epoxy-based or acrylic paint in thin, even layers to prevent runs or pooling. Allow each layer to dry for at least one hour before adding the next. Stenciling designs or patterns can also personalize the bathtub. Follow product instructions closely for the best results, and work in well-ventilated areas to reduce fumes.
Curing and Drying Time
Curing and drying time are essential for a lasting finish. Most paints require about 24 hours before the bathtub can be used lightly. For full curing, allow 48 to 72 hours without exposure to water. Extended drying times enhance adhesion and durability, making it crucial for longevity. High moisture areas, like bathrooms, may increase drying time slightly. Maintaining proper ventilation can aid in the curing process. Avoid using harsh chemicals during this period to preserve the newly painted surface. Proper care during drying greatly impacts the bathtub’s final appearance.
Maintenance Tips After Painting
Proper maintenance extends the life of a painted bathtub and keeps it looking fresh. Avoid harsh chemicals, as these can degrade the paint finish over time. Use gentle, non-abrasive cleaners specifically designed for painted surfaces. Regularly wiping down the tub with soapy water or a mild cleaner helps maintain its appearance without damaging the paint.
Limit exposure to direct sunlight where possible. Excessive sunlight can fade colors and weaken the paint. Use shower curtains or blinds to protect the bathtub from UV rays when not in use. Keeping the bathroom well-ventilated contributes to the longevity of the paint by preventing moisture buildup, which can lead to peeling.
Inspect the painted surface periodically for any signs of damage, such as chipping or discoloration. If any areas appear compromised, address these issues promptly to prevent further deterioration. Small touch-ups are often enough to maintain the bathtub’s aesthetic without requiring a complete repaint.
Wait for at least 24 hours before using the tub lightly. Full curing takes 48 to 72 hours, during which the painted surface remains vulnerable. Avoid soaking in the tub or exposing it to water during this period for optimal results.
Consider using a bathtub mat to protect the surface from scratches and wear. Mats can also offer added safety by preventing slips. When using the tub, avoid dropping heavy objects that could chip the paint or damage the surface.
Following these maintenance tips ensures the painted bathtub remains a centerpiece of the bathroom, showcasing its revitalized beauty for years to come.
Transforming a bathtub through painting is a rewarding DIY project that brings both beauty and personality to a bathroom. With the right preparation and materials homeowners can achieve stunning results without breaking the bank. The satisfaction of revitalizing an old tub into a fresh centerpiece is unmatched.
Proper maintenance ensures the longevity of the painted surface allowing it to shine for years. By following the outlined steps and care tips homeowners can enjoy a beautifully customized bathtub that reflects their style and enhances their bathroom’s overall ambiance. Embracing this creative endeavor not only saves money but also adds a personal touch to one of the most used spaces in the home.