A kitchen backsplash isn’t just about stopping splashes, it’s one of the most visible surfaces in your home and a chance to inject personality into your cooking space. Whether you’re renovating an entire kitchen or refreshing what’s there, a tiled backsplash can transform the whole look while protecting your walls from moisture and wear. Homeowners often overlook the backsplash during updates, but choosing the right tile material, color, and pattern can tie your kitchen design together and add real value to your home. In this guide, we’ll walk you through the why, what, and how of kitchen tile backsplashes, from understanding why they matter to handling installation like a pro.
Table of Contents
ToggleKey Takeaways
- A kitchen tiles backsplash combines functional wall protection against moisture and grease with aesthetic impact that ties together your entire kitchen design at eye level.
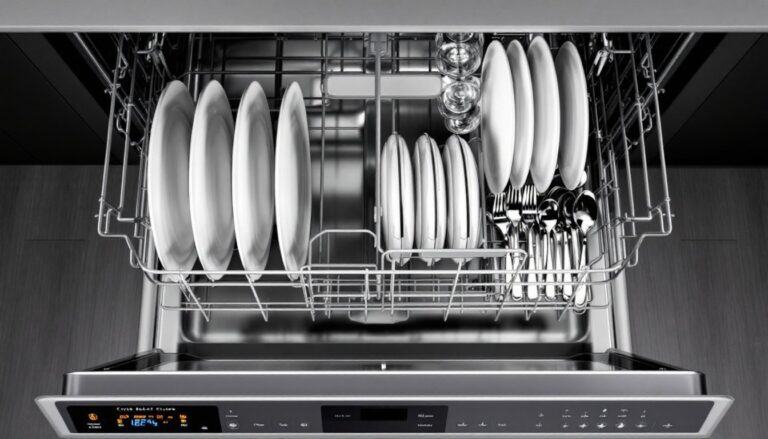
- Ceramic and porcelain are budget-friendly and durable choices for kitchen tiles backsplash, while glass and natural stone offer premium aesthetics but require higher maintenance and cost.
- Proper surface preparation, dry layout planning, and allowing 24 hours cure time between mortar application and grouting are critical steps that prevent tiles from popping loose and ensure a long-lasting backsplash.
- Ceramic and porcelain backsplashes need only daily warm soapy water cleaning, while glass and natural stone tiles demand specialized care using pH-neutral products and annual resealing.
- Choosing simpler patterns like straight subway tile layouts over herringbone or complex mosaics reduces installation difficulty and makes DIY backsplash projects more achievable for confident homeowners.
Why A Kitchen Backsplash Matters
A backsplash serves two critical jobs: protection and aesthetics. Behind your stove and sink, moisture, grease, and heat constantly attack drywall and paint. Unprotected walls deteriorate fast, leading to mold, water damage, and costly repairs down the road.
Beyond function, a well-chosen backsplash anchors your kitchen’s entire design. It sits at eye level and covers a significant wall area, making it impossible to ignore. The right tile style bridges your countertops and cabinets, either creating contrast or harmony depending on your goal. It’s also one of the easier updates you can tackle yourself, you don’t need to remove cabinets, rewire electrical, or deal with structural work. Many homeowners find a backsplash refresh delivers disproportionate visual impact for the time and cost invested.
Popular Kitchen Backsplash Tile Materials & Styles
The tile market has exploded with options. Your choice depends on budget, durability needs, maintenance tolerance, and design vision. Here are the most common materials homeowners choose.
Ceramic, Porcelain & Glass Options
Ceramic tiles are the workhorse of backsplashes: affordable, widely available, and easy to cut. A standard ceramic subway tile runs about 3 inches by 6 inches in nominal size and costs $1–$3 per square foot. They’re durable enough for splashes and light impact but do absorb some moisture, so proper grout and sealing matter.
Portelain is ceramic’s tougher cousin, it’s fired at higher temperatures, making it denser and more water-resistant. Porcelain costs 50–100% more than ceramic but lasts longer and resists staining better. If your backsplash will see heavy moisture or you want minimal maintenance, porcelain is worth the upgrade.
Glass tiles add a sleek, modern edge and reflect light beautifully in smaller kitchens. They’re non-porous (won’t absorb water), come in bold colors and metallics, and are surprisingly affordable at $2–$5 per square foot. The tradeoff: glass can show fingerprints, water spots, and grout shadows, so you’ll clean and maintain it more often. Glass also requires a steady hand during installation, it cracks if you overtighten the trowel or cross-tap grout.
Natural Stone & Trendy Alternatives
Marble, granite, and slate bring timeless elegance but demand respect. Natural stone is porous, it stains and etches if not sealed and maintained religiously. Granite is harder and more forgiving than marble, making it slightly better for kitchens. Expect to pay $5–$15+ per square foot plus professional sealing. If you love the look but worry about maintenance, consider honed marble or slate in muted tones where minor marks blend in.
Trendy alternatives like large-format tiles (12 x 24 inches or bigger), zellige (hand-painted Moroccan), and encaustic patterns are gaining ground. Large-format reduces grout lines, giving a seamless look and easier cleaning. Zellige and encaustic tiles add artisan character but cost $8–$20 per square foot and often require professional installation due to their irregular sizing. These work best as accent areas rather than entire walls on a first backsplash project.
Choosing The Right Color & Pattern For Your Space
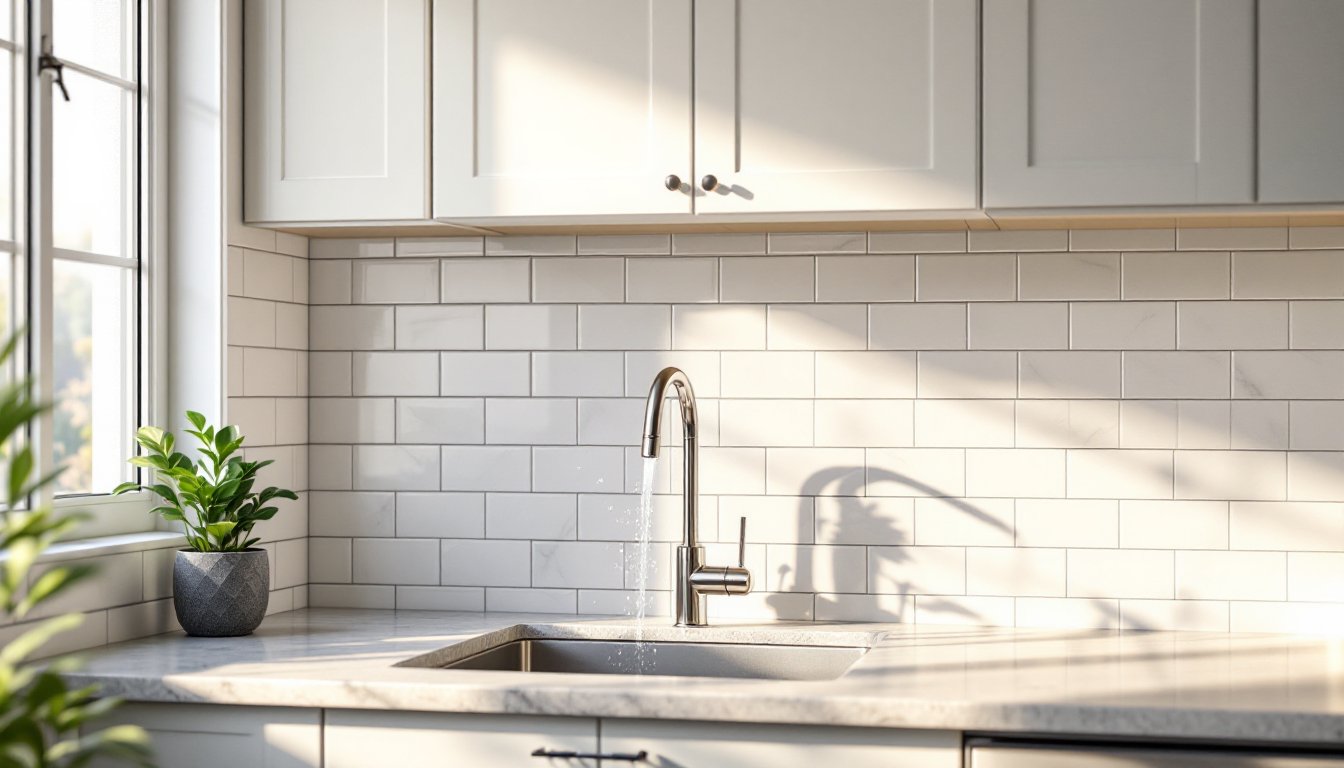
Color and pattern set your kitchen’s mood. White and cream tiles are timeless, brighten small kitchens, and pair with any cabinet or countertop color, but they show grout stains and water spots. Grays and blacks hide grime better and offer contemporary edge. Warm tones like terracotta or soft blues bring personality without feeling trendy.
Pattern choices range from straight runs (subway tiles laid horizontally) to herringbone, basket weave, hexagon, or mosaic blends. Straight patterns are easiest to install and work in almost any kitchen. Herringbone and other angled layouts look sharper but require more cuts and planning, expect installation to take longer. Mosaic blends (pre-assembled tiles in mixed colors or shapes) are popular because they hide grout imperfections and add visual interest without overwhelming the space.
Consider your kitchen’s existing finishes. If cabinets are bold or countertops are patterned, choose a quieter backsplash. If cabinets are neutral, your backsplash can carry the design. Many designers use a backsplash to tie cabinet, counter, and hardware colors into a cohesive look. Browse examples on sites like 75 Kitchen Backsplash Ideas to see how different tiles interact with various kitchen styles before you commit.
DIY Installation: Step-By-Step Guide
Installing a backsplash is very doable for a confident DIYer. Most residential kitchens don’t require permits for cosmetic tile work, but check your local building code, some jurisdictions do. Structural changes or if you’re renting, confirm with your landlord first.
Materials & Tools You’ll Need:
• Tiles (account for ~10% waste)
• Thin-set mortar (premixed or powder)
• Grout (unsanded for joints under 1/8 inch: sanded for larger joints)
• Grout sealer (for natural stone or light grout)
• Notched trowel (typically 1/4 inch by 3/8 inch for small tiles)
• Tile spacers (1/8 inch to 1/4 inch depending on desired grout line width)
• Wet saw or angle grinder with diamond blade (for cuts)
• Margin trowel, grout float, and sponges
• Safety gear: goggles, dust mask, gloves, and ear protection when cutting
Installation Steps:
-
Prep the surface. Remove outlet covers and switch plates. Clean the wall thoroughly, grease and dust prevent adhesion. Sand glossy surfaces lightly. If your wall is uneven, apply a thin skim coat of joint compound and sand smooth. Tile won’t bridge gaps.
-
Plan your layout. Dry-lay tiles on the wall (without mortar) to visualize the pattern and plan cuts. Avoid slivers of tile at corners or edges, if you end up with narrow cuts, reposition the starting point to balance the layout.
-
Apply thin-set. Spread thin-set mortar with a notched trowel held at a 45-degree angle, creating consistent ridges. Don’t cover more than 3–4 square feet at a time, mortar dries quickly. If you’re using large-format tiles, apply thin-set to both the wall and the tile back (“butter”) for better coverage.
-
Set tiles. Press tiles firmly into place with a slight twisting motion. Use spacers to maintain even grout lines. A tile level helps keep rows straight as you go.
-
Let it cure. Wait 24 hours before grouting. This is non-negotiable, premature grouting weakens the bond.
-
Grout. Mix grout to a peanut butter consistency. Apply with a grout float held at a 45-degree angle, packing it into joints. After 20–30 minutes (when grout firms up), wipe diagonals with a damp sponge to smooth joints and remove excess. Avoid washing out the grout, a gentle circular motion is all you need.
-
Cure again. Wait 3 days before using your kitchen or exposing grout to moisture. Seal natural stone and light grout after 72 hours using a penetrating sealer per manufacturer instructions.
Common Mistakes:
Rushing the dry layout leads to awkward cuts and misaligned patterns. Skipping wall prep means tiles pop loose within months. Applying too much mortar or grouting too soon weakens your entire backsplash. And forgetting to account for the grout line width when measuring, a 1/4-inch line adds up across a wall.
If your wall is significantly out of plumb (more than 1/4 inch over 10 feet) or you’re using large-format tiles, consider hiring a professional. Mistakes on large tiles are expensive and visible. Resources like The Kitchn offer detailed project guides and troubleshooting if you hit snags.
Maintenance & Cleaning Tips
Different tiles demand different care. Ceramic and porcelain are low-maintenance, daily wiping with warm soapy water and a squeegee prevents water spots. For stubborn grease, use a mild degreaser diluted in water. Avoid bleach and harsh acids unless your grout is dark and heavily stained, bleach fades color and can damage seals.
Glass tiles look pristine when clean but show every smudge and water drop. Use a vinegar-and-water solution (1:1 ratio) and microfiber cloths to minimize streaks. Squeegee after showering or cooking to prevent mineral buildup.
Natural stone requires gentle handling. Never use acidic cleaners (lemon, vinegar, or commercial granite cleaners with vinegar), they etch marble and limestone. Use pH-neutral stone cleaner designed for your specific tile type. Reseal annually or when water no longer beads on the surface. Seal grout, not just the stone, to prevent mold and staining in the grout lines.
Light-colored grout shows everything. If you regret white grout in a high-traffic kitchen, consider regrouting with a mid-tone gray or warm taupe that hides daily grime better. Colorant can be added to new grout batches, or you can use grout stain pens between deep cleans.
Maintenance is genuinely easier than most homeowners think once you establish a routine, quick wipes after cooking and a weekly deep clean keep your backsplash looking like new for years.