A new Whirlpool dishwasher can feel overwhelming at first glance, all those buttons, cycles, and compartments might make you wonder if you need an engineering degree just to wash dishes. The truth is, Whirlpool dishwashers are designed to be user-friendly, and once you understand the basics, operating one becomes second nature. Whether you’ve just had your dishwasher installed or you’re finally taking advantage of one you haven’t fully explored, this guide walks you through every step so your dishes come out sparkling clean every time. No guesswork, no wasted detergent, just practical instruction from someone who’s been there.
Table of Contents
ToggleKey Takeaways
- Learning how to use a Whirlpool dishwasher becomes second nature once you understand the control panel, cycle options, and basic operation steps.
- Proper loading technique—spacing dishes at angles, leaving the center clear, and avoiding the spray arm—directly improves cleaning results and prevents spotty dishes.
- Use only automatic dishwasher detergent (powder, liquid, or pods) filled to the recommended line, and keep the rinse aid compartment full to prevent cloudy, spotty dishes.
- Select the appropriate cycle for your load type: Normal for everyday dishes, Heavy Duty for baked-on food, Delicate for fine items, and Eco for lightly soiled loads.
- Monthly cleaning cycles and regular spray arm checks prevent mineral buildup and clogs, while common issues like spotty dishes or poor cleaning often resolve with simple adjustments rather than service.
- Avoid partial loads when possible, confirm the door latch is fully closed before pressing Start, and consult your model-specific owner’s manual for exact button locations and troubleshooting.
Understanding Your Whirlpool Dishwasher Control Panel
Before you load a single plate, get familiar with the control panel. Most Whirlpool models feature a digital display (or older mechanical buttons) located on the door’s edge or front face. The panel is your communication hub with the machine, it tells you what’s happening inside and lets you select how you want your dishes washed.
Locating Key Buttons and Displays
The Start/Cancel button is usually the largest and most prominent control. Press it to begin a cycle once you’ve selected your settings. The Cycle Select buttons let you choose between options like Normal Wash, Heavy Duty, Delicate, Pots and Pans, Quick Wash, and Eco/Soil Sense cycles. Most units display the selected cycle on a small LED screen or illuminated text.
You’ll also find buttons for Heated Dry, Delay Start, and Wash Options (like Extra Wash or Sanitize). The delay start feature lets you program the dishwasher to run at a specific time, useful if you want it to finish before you wake up or to take advantage of off-peak energy hours. Don’t overlook the control lock button if you have kids: it prevents accidental cycle cancellation or changes mid-wash.
Look for the detergent dispenser door along the inside of the door itself, typically near the bottom. This is separate from the rinse aid compartment, which usually sits on the lower right side of the tub. Familiarizing yourself with these locations now prevents fumbling during setup. Consult your owner’s manual for your specific model’s exact button layout, Whirlpool designs vary by age and feature level.
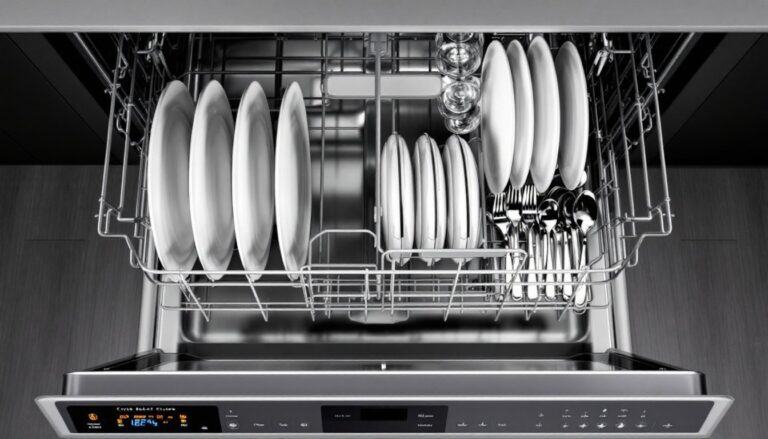
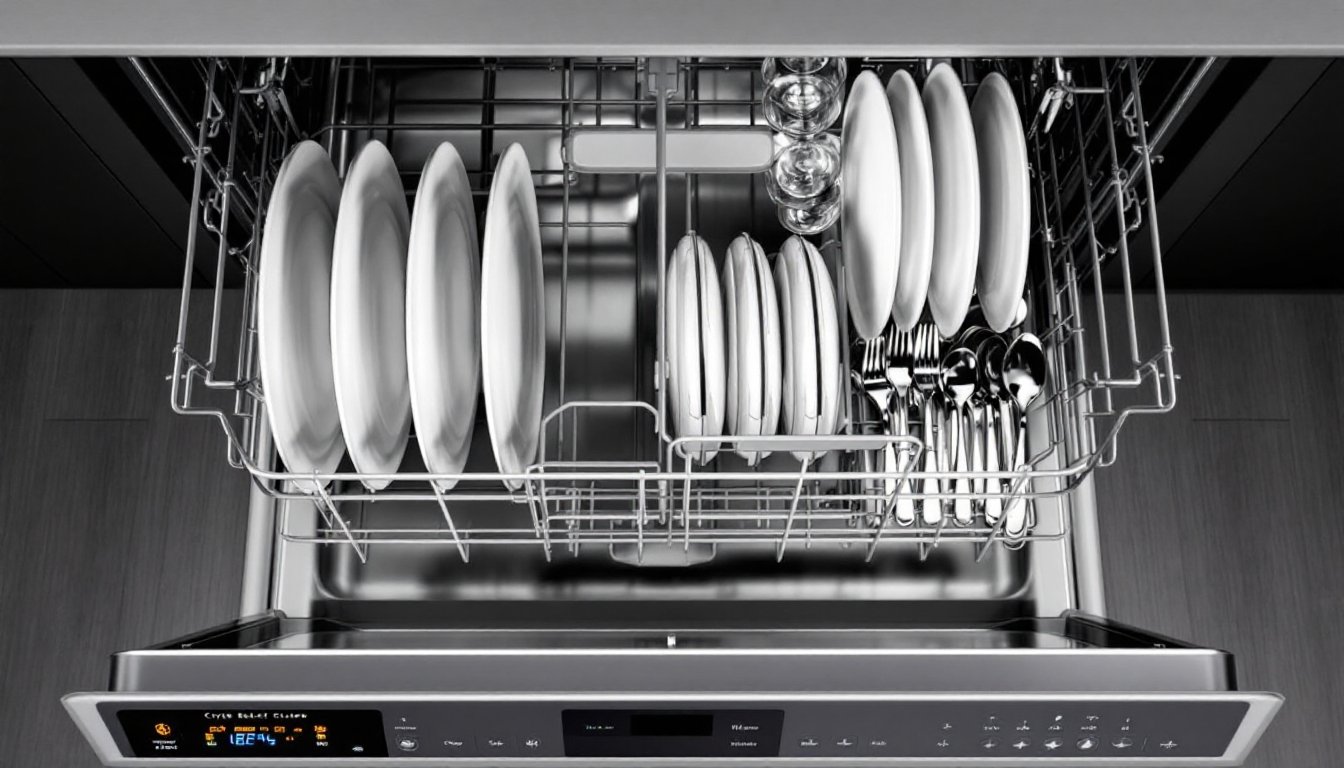
Loading Your Dishwasher Correctly for Optimal Cleaning
How you load the dishwasher matters more than most people realize. Poor loading blocks water spray, traps food particles, and results in spotty, greasy dishes. A few minutes of thoughtful arrangement pays dividends in cleaning performance.
Rack Placement and Spacing Tips
Whirlpool dishwashers typically include an upper rack for smaller items and a lower rack for larger pieces. Cups, small bowls, and glassware go on top: dinner plates, pots, and serving platters go below. Some models include a silverware basket (usually removable and located at the bottom) or a cutlery tray on the top rack.
Place items at an angle rather than stacked flat. Tilted dishes allow water jets to hit both sides: flat stacking creates dead zones where water can’t reach. Space plates so they don’t touch, ideally about half an inch apart. Bowls nestle better if alternated (rim up, rim down) for stability and water access.
For the upper rack, lean glasses backward slightly toward the back wall: this prevents them from sliding during the cycle. Avoid placing anything directly below the spray arm (a rotating component that shoots water upward), never block its movement. Heavily soiled cookware goes on the lower rack closest to the spray jets for maximum pressure and agitation.
Load pans and large items around the perimeter, leaving the center clear. Never overload: cramming more in won’t wash better, it’ll trap food and detergent residue. Leave roughly 1–2 inches between the door and any items when fully loaded, so the wash arm can rotate freely. According to The Spruce’s comprehensive dishwasher guides, proper spacing is one of the most overlooked steps that directly impacts cleaning results.
Adding Detergent and Rinse Aid
Using the right amount and type of detergent is crucial. Whirlpool recommends using powder, liquid, or pod-style detergents specifically formulated for automatic dishwashers, never hand-wash dish soap, which creates excessive suds and can damage the machine.
The detergent dispenser door is located inside the door, usually near the bottom. For powder or liquid, fill to the line indicated (typically about 1–1.5 tablespoons for lightly soiled loads, up to 2 tablespoons for heavily soiled). Close the dispenser door firmly until it clicks: if it doesn’t latch, it won’t open at the right time during the cycle. For pods, simply place one (or two for heavy soil) directly in the main wash cup (not the pre-wash cup) and close the door.
Rinse aid is a separate product that helps dishes dry spot-free. Fill the rinse aid compartment (a small round opening, usually on the lower right side of the tub) until it stops: it holds only a small amount and lasts weeks. Rinse aid prevents water from beading and pooling, which causes spots and filming. If your water is already soft, you might skip rinse aid, but most areas benefit from using it. Good Housekeeping’s appliance recommendations consistently emphasize that rinse aid is worth the small cost for noticeably cleaner results.
Overdosing detergent doesn’t improve cleaning and can leave residue. If your dishes are spotty or cloudy, the issue is usually not enough rinse aid, not extra detergent. Hard water areas especially should verify their rinse aid dispenser is full.
Selecting and Running Wash Cycles
Whirlpool dishwashers offer multiple cycles because different loads need different treatment. Choosing the right one ensures efficiency and protects delicate items.
The Normal or Auto Cycle is your everyday workhorse. It handles regular mixed loads of plates, bowls, and utensils at moderate temperature. Heavy Duty runs longer, hotter water, and more aggressive spray for baked-on food and cast iron. Use this for pots, pans, and dishes left to sit overnight. The Delicate Cycle runs cooler and gentler, perfect for fine china, crystal glassware, and non-stick cookware you want to preserve.
Quick Wash (sometimes called Speed Wash) runs 30–45 minutes for lightly soiled dishes or when you need clean plates fast. It uses less water and energy but won’t tackle stubborn, dried-on food. Eco or Soil Sense cycles use sensors to detect how dirty the load is and adjust water temperature and duration automatically, saving energy and water on lightly soiled loads.
After selecting your cycle and loading the detergent, close the door and press the Start button. The display will illuminate and confirm your selection. If you’ve chosen a delay start, you’ll need to confirm the time and press Start again. Once running, most cycles are non-interruptible, opening the door mid-cycle will pause but not cancel (you’ll typically see a prompt to resume).
A typical normal cycle runs 2–3 hours: heavy duty can take 4 hours or more. Avoid running the dishwasher with a partial load unless absolutely necessary, it wastes energy and water. But, if you must run a light load, select the appropriate cycle and reduce detergent by about a quarter. Real Simple’s home organization advice recommends running full loads to develop efficient kitchen routines.
Maintenance and Troubleshooting
Regular maintenance keeps your Whirlpool running smoothly and prevents common problems. Every month, run a cleaning cycle (many Whirlpool models have a dedicated Cleaning Cycle button) with the tub empty to clear mineral buildup and detergent residue. Once or twice a year, place a dishwasher cleaner (citric acid–based products work well) in the detergent dispenser and run the cleaning cycle.
Check the spray arm regularly for clogs. Food particles or mineral deposits can block the tiny holes that spray water. Remove the arm (it typically unclips or unscrews from the bottom of the tub), rinse it under running water, and use a toothpick or thin wire to clear any blockages. Reattach securely.
If dishes aren’t getting clean, check these common culprits first: detergent too low, rinse aid empty, spray arm blocked, or overcrowding. If the dishwasher won’t start, confirm the door is closed completely and latched, the door latch is a safety switch. If the door seems to click but the cycle won’t begin, the latch may need adjustment or replacement (consult your manual or call a technician).
Cloudy or spotty dishes usually indicate insufficient rinse aid, not a machine problem. Fill the rinse aid reservoir and run another load. Food residue remaining on dishes often points to overloading, improper loading (blocking spray arm), or using too little detergent. Leaks are rare in modern machines but should be inspected by a professional, check if the door gasket is intact and that the unit is level first.
If you encounter persistent problems, your Whirlpool manual includes a troubleshooting section specific to your model. Most issues resolve with simple adjustments before you need service.